
There’s something about spring that feels like an exhale. The light shifts. The air softens. The heaviness of winter begins to lift, and with it, we feel invited to start again. Easter sits right in the middle of that transition, a quiet celebration of renewal, subtle beauty, and fresh beginnings.
When it comes to nails, this season isn’t about loud statements. It’s about refinement. Milky pastels. Sheer washes of color. Minimal details that feel intentional rather than decorative. Think soft baby blues that catch the sunlight, translucent lilacs that feel like morning mist, creamy butter yellows that glow against warm skin. It’s less about “cutesy” motifs and more about editorial restraint, color as mood, gloss as texture, light as the final accessory.
Easter nails, at their best, feel clean, elevated, and quietly luxurious. They reflect the season without overpowering it. Soft almond shapes, high gloss finishes, delicate accents placed with intention. This is spring minimalism polished, fresh, and effortlessly modern.
Below are some of our favorite Easter-inspired nail designs this season. Under each look, you’ll find the recommended products used so you can recreate the softness, the glow, and the subtle power of spring for yourself.
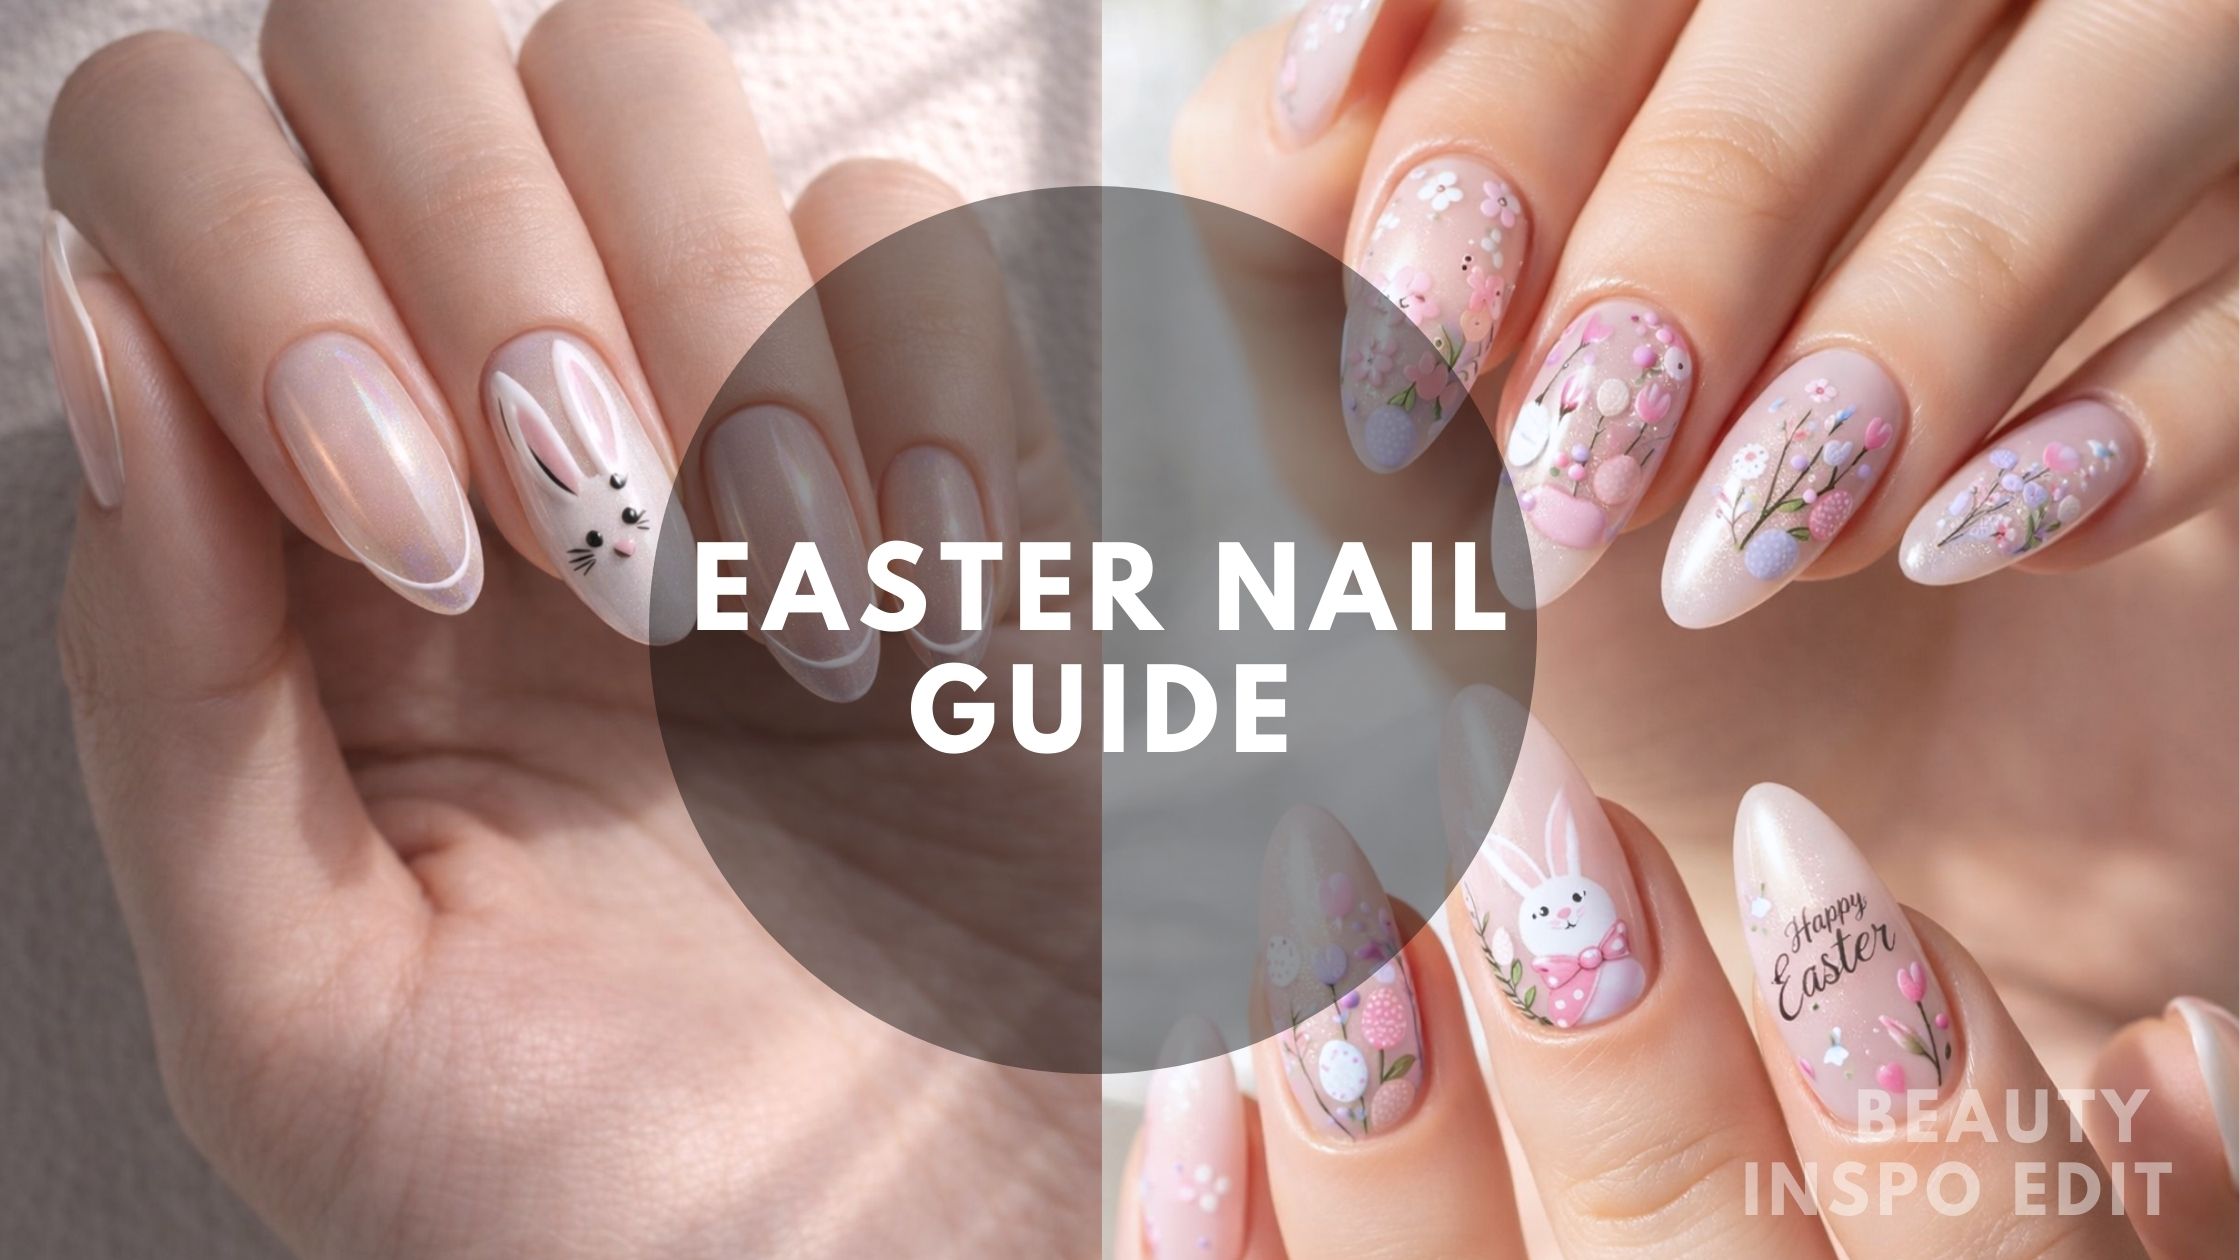
These Easter inspired nail sets were created using the exact same method, the only difference is how much nail art you choose to apply.
Instead of hand painting intricate flowers, bunnies, and Easter eggs, we used nail decals over a milky pastel base. This makes the process faster, cleaner, and much more beginner, friendly while still giving you that detailed, salon quality finish.
Start with a soft, semi translucent pastel base, one in a milky nude pink and the other in a sheer baby blue. Or go as bold as black but the glossy, slightly transparent finish helps the decals blend seamlessly into the nail so they look embedded rather than placed on top.
The application steps are the same for both looks:
- Apply your base color and fully cure.
- Carefully place the decal using tweezers.
- Press and smooth it down to remove air bubbles.
- Seal with a high gloss top coat.
That’s it. From there, you can choose your style.
If you love a more playful, detailed look, you can fill most or all of the nails with decals for a fully decorated Easter set. If you prefer something softer and more editorial, you can keep most nails clean and glossy and add decals only as subtle accents on one or two fingers. Same technique. Same products. Just a different level of coverage.


You can buy the Nail Decals Here, endless possibilities


You can buy the Nail Decals Here, endless possibilities


You can buy the Nail Decals Here, endless possibilities


You can buy the Nail Decals Here, endless possibilities